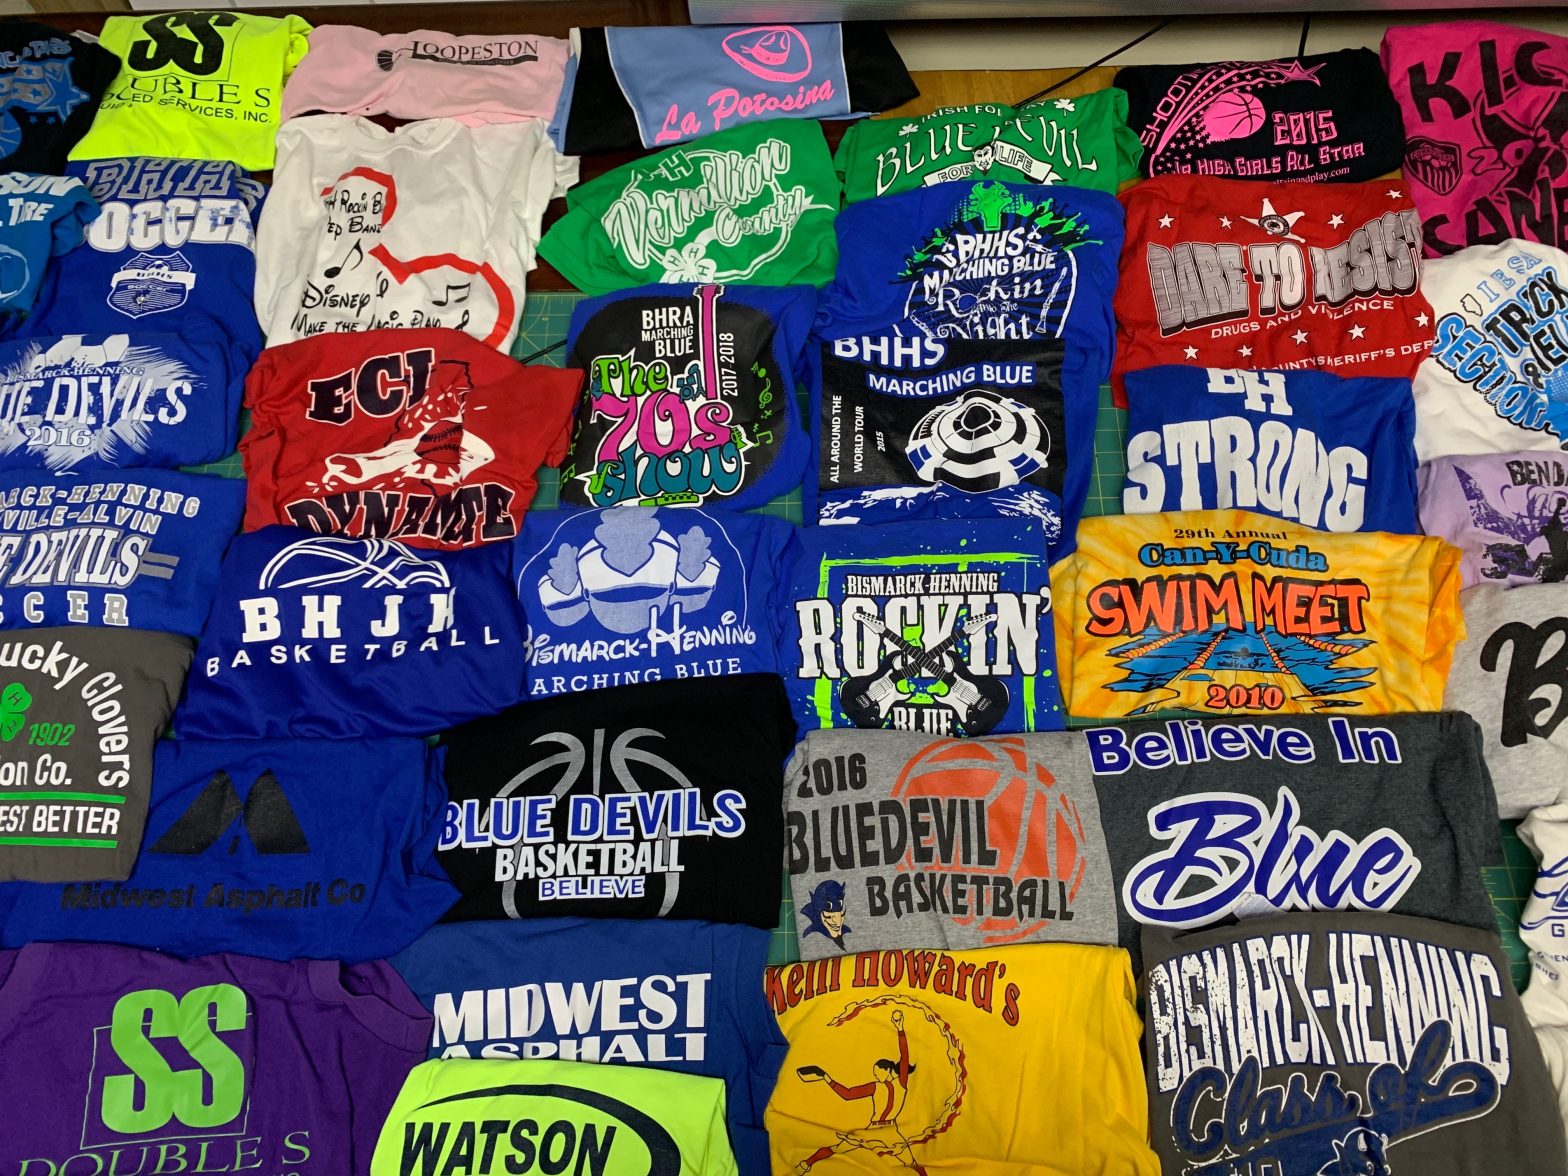
Do you have enough shirts to start your quilt? And which ones do you want to include. Here are some tips that can help you get started.
- First find a style that you like as “enough shirts” depends on the style and look that you like. Do you like symmetry as in a Blocky quilt which is laid out like a grid? Or can the shirts be more randomly placed, like Freestyle. Look at lots and lots of pictures of different styles to first narrow it down to the looks that resonate with you the most. You will find several in our Portfolio . Try searching the Portfolio by style or theme such as Blocky, Freestyle, Peachtree. If you don’t see exactly what you like, sharing your thoughts on paper such as a rough sketch can help us to take it to the next step and develop a design concept to go with your vision.
- Next make sure you have located all of your shirts. Look through all of your drawers and other places you may have tucked t-shirts away. Check the closet, laundry room, under the bed, in storage in the basement or attic; Mom’s or grandma’s house; at your friend’s house; a child’s room. Having everything is important as it can be more expensive to add shirts on later after the design phase is done or sewing is in progress. Once you have them all, then prioritize in the order that you want them included.
- Go through all of the shirts one by one and decide if you will be ok with not wearing that special shirt anymore. Once it’s in the quilt, you’ll still be wearing it, but as a quilt not as clothing! Can you live without wearing that clothing article?
- Think of why you tucked that shirt away in the first place. Does it make you smile? Does it transport you back to a special event from the past? Are you reminded of why you kept it and glad you still have it? Is it colorful, does it have your name, or team on it, does it have an interesting picture on it? If the quilt will be a gift, keep in mind what you think the recipient would choose rather than yourself!
- As you’re going through the shirts sort them in to 3 piles. The “Yes” pile is for those that are in for sure. “Optional” is for those to include only if needed. Further prioritize the “Optionals” into which would go in first to which would go in last, if needed. The “No” pile is for those that you’ve decided not to include maybe because you still want to wear it or maybe you’re done with it for good and it’s time to donate it to a thrift store.
- Be sure to smell your t-shirts after washing. Sometimes with athletic shirts, even after washing, the “authentic” sports fragrance can linger. Think of that thrift store smell. Sometimes this can reside in clothes that have been sweated in heavily even after they’ve been washed! So take a whiff after washing. It can help when making a final decision on which t-shirts to include.
- For all of the “In” shirts, put a safety pin in the part of the shirt that you want to include: front, back, sleeve, pocket. Count all of your “In” shirts. Same with the “Optionals” and then place all of them in a separate bag labeled as such.
- Place all of the “In” and “Optionals” in a plastic bin or sturdy bag to transport them. It helps to keep everything together. When all done, your container will be returned to you along with your remnants and “Optional” shirts that didn’t make it in to the quilt.
Good job! We are happy to advise and offer our opinions but sorting and prioritizing to come up with how many is best done by you based on what you’d like to include. Then Contact Us . We’ll take it from there and start the design process with the quantity of shirts that you have to get to the look that you like for your masterpiece.
Hope this helps you take the “leap” and get started on creating your special t-shirt quilt! Meanwhile, we’re at your service, should you need help at any time. We have the talent, time, and space to work together with you to create a masterpiece that you’ll be proud of.
